

Build Custom PC Singapore: Your 2026 Component Guide
TL;DR:
- Building a custom PC in Singapore involves selecting, assembling, and stress-testing components tailored to your needs. Reputable local builders offer detailed documentation, stress-test results, and reliable sourcing through hubs like Sim Lim Square. Ensuring full transparency before payment helps prevent post-purchase issues and guarantees long-term stability.
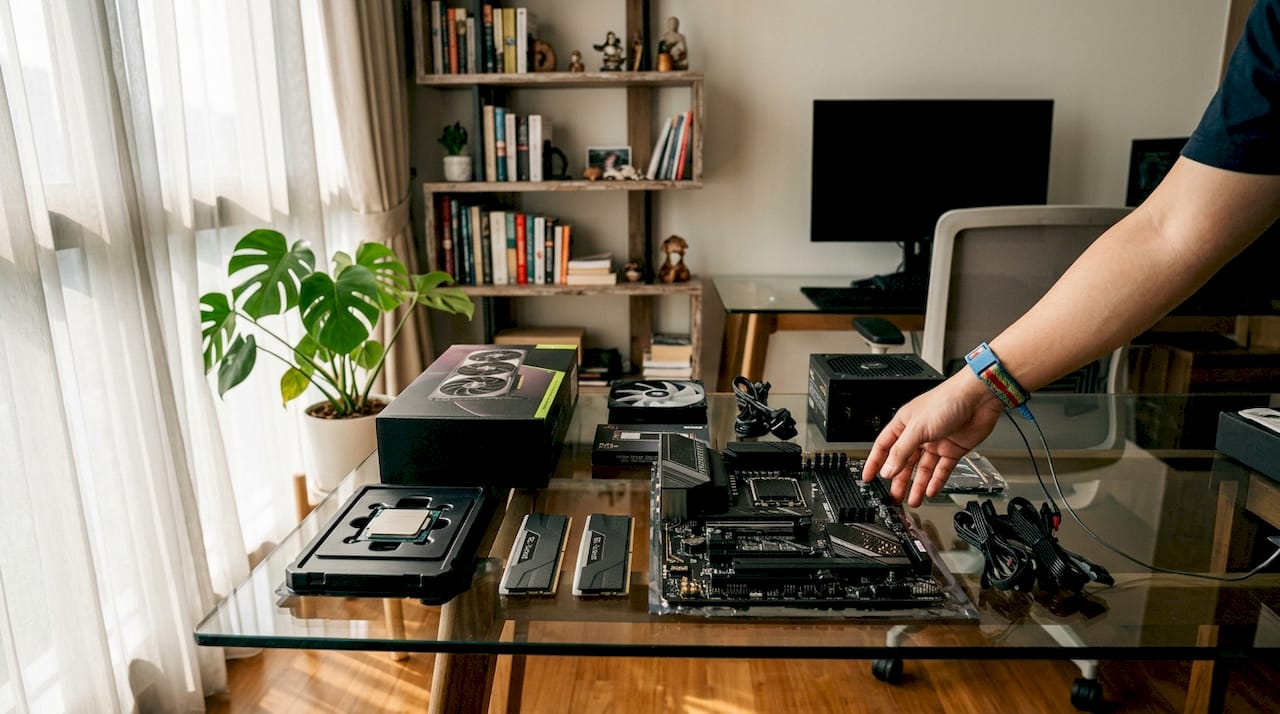
Building a custom PC in Singapore, also called a custom desktop build, means selecting, assembling, and stress-testing individual components to match your exact performance needs and budget. Singapore builders have access to a mature local market with clear pricing tiers, professional assembly services, and sourcing hubs like Sim Lim Square that make the process faster and more reliable than most people expect. Whether you want a budget 1080p gaming rig or a high-end AI workstation, this guide covers every step from component selection to final testing.
What components do you need to build custom PC Singapore?
Every custom desktop build requires eight core components: CPU, GPU, motherboard, RAM, storage, power supply unit (PSU), case, and cooling. Getting the balance right across these parts determines whether your build runs cool and stable for years or throttles under load within months.
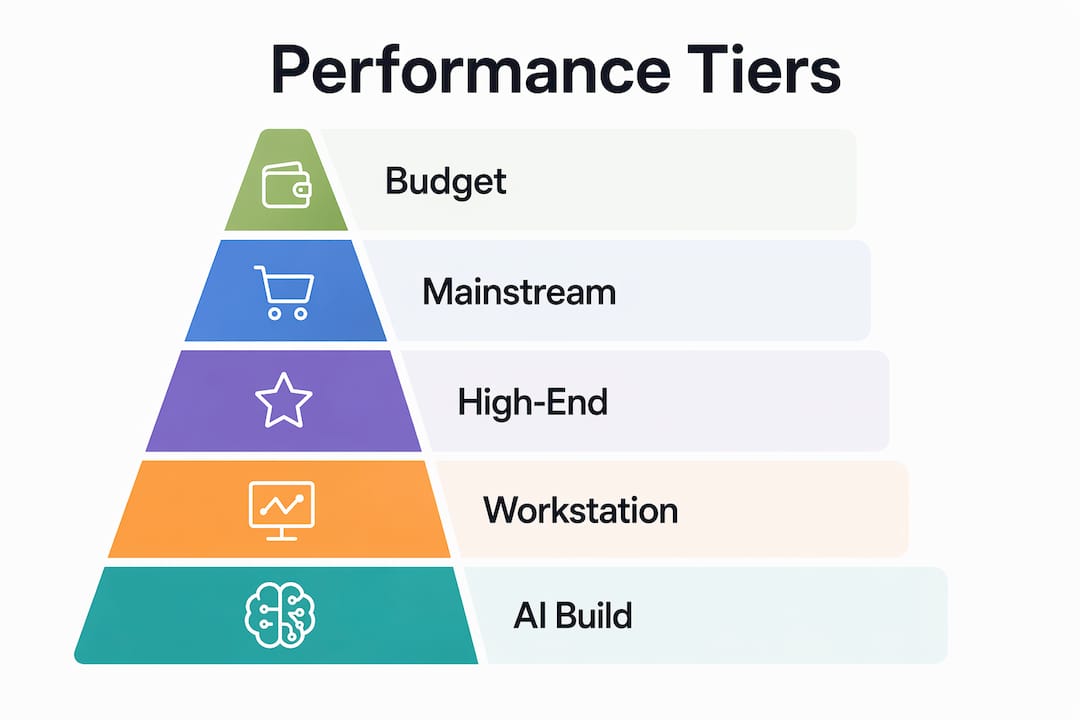
Singapore builders typically organize builds into four performance tiers. Budget gaming PCs targeting 1080p resolution cost S$800–S$1,200. Mid-range 1440p builds run S$1,500–S$2,500. High-end content creation workstations land at S$2,000–S$6,000+. Entry-level productivity PCs start as low as S$480–S$600 at select retailers. Each tier demands a different component priority: budget builds favor GPU value, while workstations prioritize CPU core count and RAM capacity.
| Performance Tier | Typical Budget (SGD) | GPU Focus | RAM Target |
|---|---|---|---|
| Budget 1080p Gaming | S$800–S$1,200 | Mid-range discrete GPU | 16GB DDR4 |
| Mid-Range 1440p Gaming | S$1,500–S$2,500 | Upper-mid discrete GPU | 32GB DDR5 |
| High-End 4K / Content Creation | S$2,000–S$6,000+ | Flagship discrete GPU | 32–64GB DDR5 |
| AI / Workstation | S$3,000–S$6,000+ | Professional or dual GPU | 64GB+ DDR5 |
Thermal stability matters more than brand recognition when choosing parts. Stress-test results are more reliable indicators of component health than the label on the box. A GPU that passes a 30-minute FurMark run at safe temperatures tells you more than its brand name alone.
Pro Tip: Always ask your builder for documented stress-test results before accepting your completed PC. Thermal logs and benchmark scores give you a baseline for future troubleshooting.
How do you source parts and assembly services in Singapore?
Sim Lim Square is Singapore’s most concentrated hub for PC components and assembly services. The Sim Lim Square floor guide breaks down which floors carry specific component categories, from storage and peripherals on lower levels to specialized PC builders and GPU retailers on upper floors. Knowing which floor to visit before you arrive saves significant time.
Most reputable builders in Singapore follow a consistent process:
- Free consultation: Discuss your use case, budget, and preferred brands before any money changes hands.
- Component selection: Builder recommends a parts list based on your tier and sourcing availability.
- Professional assembly: Technicians handle installation, cable management, and BIOS configuration.
- Stress testing: CPU and GPU loads run for a defined period to confirm thermal and stability targets.
- Delivery or collection: Same-day to 3–7 business days depending on build complexity, with assembly labor fees ranging S$50–S$150, often waived when you purchase components from the same shop.
WhatsApp pre-consultation is now standard practice among Singapore’s better builders. WhatsApp consultations let you confirm stock availability and get a quote before traveling to the store. This prevents wasted trips and keeps your build timeline accurate.
Boutique builders often mix quality-tested used GPUs with new components to lower total cost without sacrificing reliability. The key is that stress-test certifications must accompany any used part. A used GPU with documented thermal test results is a better buy than a new card with no post-sale support.
Pro Tip: Before any payment, request a full itemized parts list in writing. Confirm that warranty terms appear on the invoice, not just in a verbal agreement.
Step-by-step process for building your PC from planning to testing
A well-executed custom gaming PC assembly in Singapore follows a clear sequence. Skipping steps, especially BIOS configuration and stress testing, creates problems that surface weeks after collection.
Pre-build planning
Confirm your use case, target resolution, and budget before selecting any parts. Cross-check component compatibility using tools like PCPartPicker to catch motherboard and RAM conflicts early. Gather your tools: a Phillips-head screwdriver, anti-static wrist strap, and cable ties.
The build sequence
- Prepare the case. Remove side panels, install standoffs, and plan cable routing paths before any components go in.
- Install the CPU. Seat the processor carefully, align the notch, and lock the retention arm without forcing it.
- Mount the CPU cooler. Apply thermal paste in a pea-sized dot at center, then seat the cooler according to its bracket type.
- Install RAM. Match the slots specified in your motherboard manual, typically slots 2 and 4 for dual-channel.
- Seat the GPU. Lock it into the primary PCIe x16 slot and connect power cables from the PSU.
- Connect storage. Attach NVMe SSDs to M.2 slots before closing the board into the case.
- Mount the motherboard. Align the I/O shield, seat the board on standoffs, and secure with screws.
- Install the PSU. Route cables before mounting to simplify management.
- Cable management. Route all cables behind the motherboard tray and use ties to keep airflow paths clear.
- BIOS setup. Enable XMP or EXPO for RAM, confirm boot order, and check CPU and GPU detection.
- OS installation. Install Windows or Linux from a USB drive, then update all drivers including chipset and GPU.
- Stress testing. Run Cinebench for CPU, FurMark or 3DMark for GPU, and CrystalDiskMark for storage.
“Complex AI and high-end builds require BIOS tuning, OS and driver setup, and multi-day benchmarking. AI workstation builds can take 3–7 business days to complete properly. Simpler gaming builds are often ready the same day.”
| Build Stage | Time Estimate | Key Verification |
|---|---|---|
| Pre-build planning | 1–2 hours | Parts list confirmed, compatibility checked |
| Physical assembly | 2–4 hours | All components seated, cables managed |
| BIOS and OS setup | 1–2 hours | XMP enabled, drivers installed |
| Stress testing | 1–3 hours | Temps stable, no crashes or throttling |
Pro Tip: If you are buying from a local builder, ask to see the PC running with thermal logs and benchmark scores displayed before you pay. Reputable shops welcome this request.
What are the common pitfalls when building a custom PC in Singapore?
The most costly mistakes in Singapore’s custom PC market come from skipping documentation and assuming verbal agreements hold. Experts recommend obtaining a full itemized parts list and explicit warranty coverage on the invoice before any payment.
Watch for these specific issues:
- Vague warranty terms. Budget shops typically offer 1–3 months of coverage. Premium builders provide 2-year parts warranties and lifetime technical support. Know which you are getting before you commit.
- Missing parts list. A builder who cannot provide a full component list with model numbers and serial references is a red flag.
- No stress-test documentation. Any completed build should come with logged results from CPU and GPU load tests.
- Unclear labor fees. Confirm whether the S$50–S$150 assembly fee is waived with your component purchase or charged separately.
- Untested used parts. Used GPUs and RAM are legitimate cost-saving options, but only when accompanied by documented test results.
Choosing between budget and premium builders depends on your risk tolerance. Premium builders deliver showroom-quality cable management, aesthetic finishes, and lifetime support. Budget builders prioritize value, using tested used parts with shorter warranties. Neither is wrong. The decision depends on how much post-sale support matters to you. The top custom PC providers guide on Simlimsquareinsider covers this trade-off in detail with specific shop comparisons.
Understanding warranty coverage for replacement parts is equally important when evaluating builder offers. A warranty that excludes labor or limits coverage to specific failure types offers far less protection than it appears.
Key Takeaways
Building a custom PC in Singapore delivers the best performance-per-dollar when you match your component tier to your actual use case, source parts from verified local hubs, and demand full documentation before payment.
| Point | Details |
|---|---|
| Match tier to use case | Budget 1080p builds start at S$800; AI workstations exceed S$3,000. Choose based on real workload. |
| Demand written documentation | Always get an itemized parts list and warranty terms on the invoice before paying. |
| Stress-test results matter most | Thermal logs and benchmark scores confirm component health better than brand names alone. |
| Use WhatsApp pre-consultation | Confirm stock and pricing before visiting any store to avoid wasted trips. |
| Know your warranty tier | Budget builders offer 1–3 months; premium builders provide 2-year coverage and lifetime support. |
Why I think most Singapore PC builders underestimate the documentation step
After spending years watching people navigate Sim Lim Square and local builder shops, the single biggest source of post-purchase regret is not the components chosen. It is the paperwork skipped.
Builders who know their process welcome scrutiny. A shop that hesitates when you ask for a printed parts list or thermal logs is telling you something important. The stress-test request is not an insult to the technician. It is standard practice among experienced builders, and any shop worth your money treats it that way.
The WhatsApp consultation step also gets underused. Sending your target specs and budget via message before visiting lets the builder pre-check stock and flag compatibility issues. You arrive at the store with a realistic quote already in hand. That single step eliminates most of the friction that makes first-time builders anxious.
My honest view on budget versus premium builders: the gap is not about component quality as much as it is about what happens after you take the PC home. If you are comfortable troubleshooting your own hardware, a budget builder with documented stress tests is a perfectly sound choice. If you want someone to call when something goes wrong two years later, pay for the premium tier. Both are legitimate options. Just be clear with yourself about which category you actually fall into before you walk through the door.
— Aloysius
Trusted resources for your custom PC build in Singapore
Simlimsquareinsider connects Singapore builders and gamers with curated, verified information about the local PC component market, including store directories, floor guides, and expert buying advice.

The Sim Lim Square store directory covers component retailers, assembly services, and specialist shops across every floor, so you can plan your visit with confidence. Whether you are sourcing a single GPU or commissioning a full AI workstation build, Simlimsquareinsider gives you the local knowledge to buy right the first time. Use the electronics store guide to understand which store types suit your specific needs before you spend a dollar.
FAQ
How much does it cost to build a custom PC in Singapore?
Budget gaming builds start at S$800–S$1,200 for 1080p performance. High-end workstations and AI builds reach S$6,000 or more depending on component specifications.
How long does a custom PC build take in Singapore?
Simple gaming builds are often ready the same day. Complex AI workstation builds with full BIOS tuning and multi-day stress testing take 3–7 business days.
Where can I buy PC components in Singapore?
Sim Lim Square is the most concentrated local sourcing hub, with component retailers and assembly services across multiple floors. The Sim Lim Square floor guide identifies which levels carry specific part categories.
What warranty should I expect from a Singapore PC builder?
Budget builders typically offer 1–3 months of coverage. Premium builders provide 2-year parts warranties and lifetime technical support, often with in-house installment plans up to 24 months.
Is it safe to buy used PC components in Singapore?
Quality-tested used parts, particularly GPUs, are a legitimate cost-saving option when the builder provides documented stress-test results. Always request thermal logs and benchmark scores before accepting any used component.