

PC Building Parts: Your Complete 2026 Component Guide
TL;DR:
- Building a modern PC requires selecting compatible components that meet the latest performance standards, such as 32GB DDR5 RAM and PCIe 4.0 storage. Ensuring compatibility between parts like CPU, motherboard, RAM, and power supply is essential for system stability and optimal performance. Source parts locally from places like Sim Lim Square in Singapore for testing, warranty, and convenience.
PC building parts are the core internal hardware components you select, match, and assemble to create a custom gaming or workstation PC from scratch. The standard industry term is “PC components” or “computer components,” and in 2026 the baseline expectations have shifted significantly. Modern builds now require at least 32GB of DDR5 RAM, PCIe 4.0 storage, and a power supply rated at 80 Plus Gold or better. Getting these selections right before you buy anything is the single most important step in the entire process. Simlimsquareinsider covers every layer of this decision, from chipset compatibility to local sourcing in Singapore.
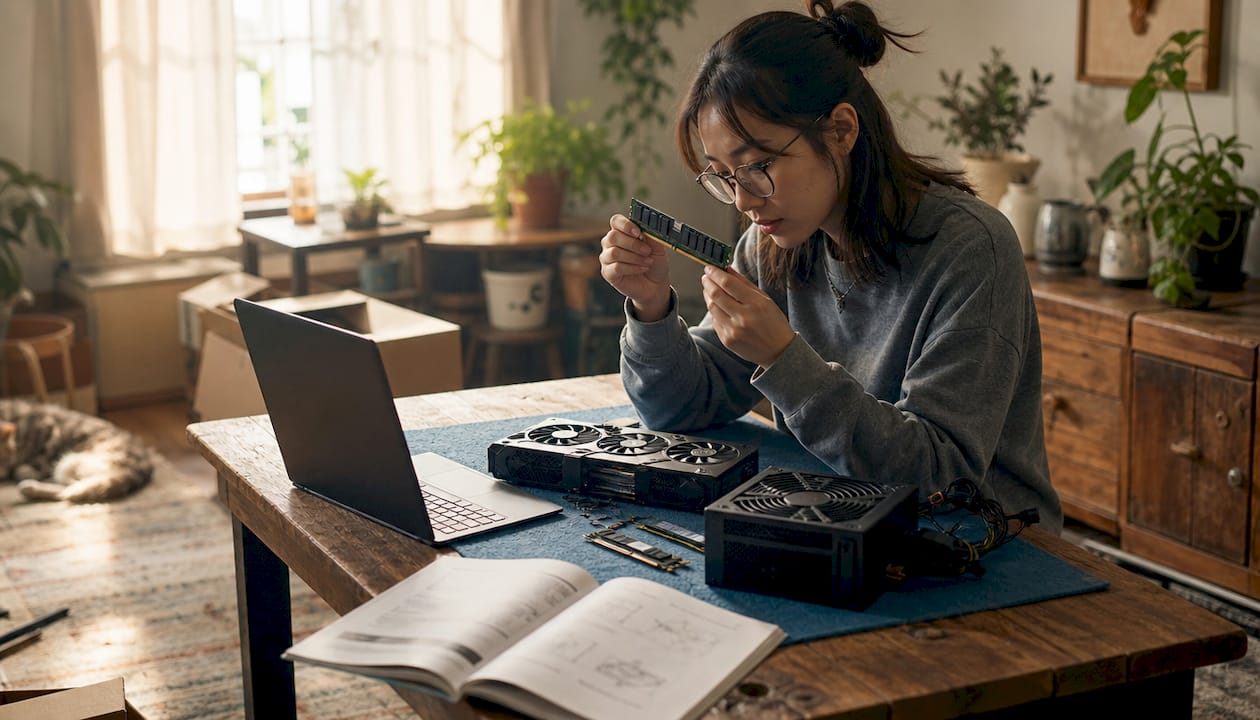
1. What are the essential PC building parts every DIY builder must know?
The CPU is the brain of your build. It handles every instruction your system processes, and your choice here determines which motherboard socket you need, which RAM type you can use, and how much thermal headroom you require. For 2026 gaming and workstation builds, the AMD Ryzen 7 9800X3D leads the field for high-refresh gaming and CPU-bound workloads.
The motherboard is the backbone that connects every other component. It determines your CPU socket, RAM slots, PCIe lanes, M.2 slots, and USB connectivity. Choosing a board with the right chipset for your CPU generation prevents compatibility headaches before they start.
RAM is the workspace your CPU draws from in real time. 32GB DDR5-6000 CL30 is the practical baseline for 2026 gaming builds, as many current titles exceed 16GB on their own. Running less than this creates a bottleneck that no GPU upgrade can fix.
Storage speed directly affects how fast your system boots and how quickly games load. 1TB–2TB NVMe PCIe 4.0 SSDs are the current standard, and modern games can exceed 100GB each. A single 2TB drive covers most builders for the first year or two.
The GPU handles all graphical output for gaming, video editing, and 3D rendering. For 1440p gaming, a mid-to-high-tier discrete GPU is the minimum. For 4K, you need a top-tier card with enough VRAM to handle texture-heavy modern titles.
The power supply unit (PSU) is the most overlooked component in most build guides. 80 Plus Gold certified PSUs rated at 650–750W deliver stable, efficient power for most mid-range to high-end builds. Skimping here risks instability across every other component.
Cooling keeps your CPU and case temperatures within safe operating ranges. Air coolers work well for most mid-range CPUs, while all-in-one liquid coolers handle high-TDP processors more effectively. Your case must support the cooler’s height or radiator size before you buy either.
The computer case sets your physical limits. It determines which motherboard form factors fit (ATX, Micro-ATX, Mini-ITX), how much airflow your components receive, and whether your GPU physically clears the drive cages. Airflow-focused cases with mesh front panels consistently outperform solid-panel designs in thermal performance.
Pro Tip: Check your case’s maximum GPU length and CPU cooler height specifications before purchasing either component. These two measurements cause more return trips than any other compatibility issue.
2. How to ensure compatibility among PC building parts in your custom build
Compatibility is not optional. A mismatch between your CPU and motherboard socket means the board physically will not accept the processor. AMD AM5 CPUs require AM5 motherboards, and Intel LGA1851 CPUs require LGA1851 boards. These are not interchangeable.
Follow these steps to confirm compatibility before purchasing:
- Choose your CPU first. Your CPU determines every downstream decision, including socket, chipset, and supported RAM type.
- Match the motherboard socket and chipset. Confirm the board supports your specific CPU model, not just the socket generation.
- Verify RAM type and speed support. DDR5 and DDR4 are physically incompatible. Check your motherboard’s qualified vendor list (QVL) for confirmed DDR5-6000 kits.
- Measure GPU clearance. Check your case’s maximum GPU length against your card’s actual dimensions. High-end GPUs now regularly exceed 330mm.
- Calculate total power draw. Add up the TDP of your CPU, GPU, and other components, then add 20% headroom. A 650–750W PSU covers most builds.
- Confirm M.2 slot compatibility. Not all M.2 slots support PCIe 4.0. Check your motherboard’s slot specifications, since some boards share bandwidth between slots.
- Check BIOS compatibility. Some motherboards require a BIOS update before they support newer CPUs. BIOS Flashback lets you update firmware without installing a CPU at all, which is a lifesaver for first-time builders pairing a new processor with an older board revision.
Pro Tip: Use your motherboard manufacturer’s CPU support page, not just the chipset compatibility list. Individual board revisions sometimes lag behind chipset-level support.
A balanced build matters more than any single component’s spec sheet. A top-tier CPU paired with an underpowered PSU or mismatched RAM will bottleneck and destabilize the entire system. Compatibility and balance are the same problem viewed from two angles.
3. Latest standards and performance recommendations for gaming PC parts in 2026
The table below reflects current performance tiers for gaming PC hardware parts in 2026. These are practical targets, not theoretical maximums.
| Component | Minimum (1080p) | Recommended (1440p) | High-End (4K) |
|---|---|---|---|
| CPU | 6-core, mid-tier | AMD Ryzen 7 9800X3D | AMD Ryzen 9 or Intel Core Ultra 9 |
| RAM | 16GB DDR5 | 32GB DDR5-6000 CL30 | 32GB–64GB DDR5-6400 |
| Storage | 1TB NVMe PCIe 4.0 | 2TB NVMe PCIe 4.0 | 2TB+ NVMe PCIe 5.0 |
| GPU | Mid-tier discrete | High-tier discrete | Top-tier discrete |
| PSU | 650W 80 Plus Bronze | 750W 80 Plus Gold | 850W+ 80 Plus Gold/Platinum |
| Cooling | 120mm AIO or tower air | 240mm AIO | 360mm AIO |
DDR5-6000 CL30 sits at the sweet spot between price and performance for gaming memory. Faster kits exist, but the real-world gains above 6000MHz are marginal for most gaming workloads. Spending more on RAM speed above this threshold rarely beats spending that money on GPU or storage.
NVMe PCIe 4.0 SSDs deliver sequential read speeds above 7,000 MB/s. That translates to near-instant game loading and fast system boot times. PCIe 5.0 drives exist but cost significantly more for gains that most gaming workloads do not yet use.
4. Step-by-step overview of assembling PC building parts into a functional system
PC assembly follows a specific order that prevents damage and reduces rework. The full process covers at least 12 distinct steps, from preparing the motherboard outside the case to final OS installation.
- Install the CPU. Align the CPU’s orientation marker with the socket. Lower it gently without applying pressure. The socket mechanism locks it in place.
- Install RAM. Seat DDR5 sticks in the correct slots for dual-channel operation. Your motherboard manual specifies which slots to use when running two sticks.
- Install the M.2 SSD. Slide the drive into the M.2 slot at an angle, press it flat, and secure it with the retention screw. Do this before mounting the board in the case.
- Mount the CPU cooler. Apply a pea-sized amount of thermal paste to the CPU lid if your cooler does not include pre-applied compound. Secure the cooler bracket evenly.
- Mount the motherboard in the case. Align the I/O shield first, then lower the board onto the standoffs. Use all provided screws to prevent flex.
- Install the PSU. Seat it in the PSU shroud and connect the 24-pin ATX power cable and the CPU power connector (usually 8-pin or 4+4-pin).
- Install the GPU. Remove the appropriate PCIe slot covers, seat the card firmly until the retention clip clicks, and connect the PCIe power cables from the PSU.
- Manage cables. Route cables behind the motherboard tray where possible. Good cable management improves airflow and makes future upgrades easier.
- First boot and BIOS setup. Connect your monitor to the GPU output, not the motherboard. Power on and enter BIOS to confirm all components are detected and enable XMP/EXPO for your RAM.
- Troubleshoot if needed. First boot issues most often come from unseated RAM, a loose CPU power cable, or a monitor plugged into the wrong port. Check these three things first.
Pro Tip: Build your system outside the case on a flat, non-conductive surface first. Confirm it posts before mounting everything inside. This saves hours of disassembly if something needs reseating.
You can find a detailed 2026 component assembly guide on Simlimsquareinsider that walks through each step with Singapore-specific sourcing advice.
Key takeaways
A balanced build with compatible, matched components delivers better real-world performance than any single high-spec part can on its own.
| Point | Details |
|---|---|
| RAM baseline is 32GB DDR5 | DDR5-6000 CL30 is the practical standard for gaming builds in 2026. |
| Compatibility drives every decision | Match CPU, motherboard socket, RAM type, and PSU wattage before purchasing anything. |
| BIOS Flashback removes a key barrier | This feature lets you update firmware without a compatible CPU installed. |
| Assembly order prevents damage | Install CPU, RAM, and M.2 SSD on the motherboard before mounting it in the case. |
| PSU quality affects the whole system | An 80 Plus Gold rated unit at 650–750W covers most mid-to-high-end builds reliably. |
What I’ve learned from building PCs the hard way
Most first-time builders obsess over the CPU and GPU, then treat everything else as an afterthought. That is exactly backwards. The PSU, RAM kit, and motherboard BIOS revision determine whether your expensive CPU and GPU actually perform at spec. I have seen builds with flagship processors run unstable for weeks because the builder chose a cheap PSU that could not hold steady voltage under load.
BIOS Flashback changed the game for compatibility management. Before this feature became common, pairing a new CPU generation with a board that shipped with older firmware required borrowing a compatible processor just to do the update. Now you can flash the BIOS with a USB drive before the CPU ever touches the socket. Every builder should check whether their chosen board supports this before buying.
The modular troubleshooting approach is the fastest way through first boot problems. Do not tear the whole build apart. Check RAM seating, check the CPU power cable, check which display output your monitor uses. Most first boot failures trace back to one of these three causes. Fixing them takes two minutes once you know where to look.
Component standards shift faster than most guides acknowledge. DDR5-6000 was considered enthusiast territory two years ago. Today it is the baseline recommendation. Build for where standards are now, not where they were when you first started researching. The top sources for computer components in Singapore have kept pace with these shifts, and knowing where to shop locally makes a real difference in warranty support and pre-purchase testing.
— Aloysius
Where to source your PC hardware parts in Singapore
Sim Lim Square remains Singapore’s most concentrated destination for PC hardware parts, with vendors across multiple floors stocking CPUs, motherboards, RAM, SSDs, GPUs, and PSUs from major brands.

Simlimsquareinsider maps every floor and store category so you know exactly where to go before you walk in. The platform’s PC building resources cover component recommendations, vendor comparisons, and assembly guides updated for 2026 standards. You can also check the why Sim Lim Square guide for a full breakdown of what makes the mall the right starting point for sourcing custom PC parts locally, including in-store testing options and local warranty support that online-only purchases cannot match.
FAQ
What are the most important PC building parts for a gaming PC?
The CPU, GPU, and RAM form the performance core of any gaming build. In 2026, a 32GB DDR5-6000 kit, a mid-to-high-tier GPU, and a processor like the AMD Ryzen 7 9800X3D cover the majority of gaming workloads at 1440p.
How much RAM do I need for a gaming PC in 2026?
32GB is the current practical baseline, as many modern titles exceed 16GB on their own. DDR5-6000 CL30 delivers the best balance of speed and cost for gaming builds.
What PSU wattage do I need for a custom gaming PC?
A 650–750W unit with 80 Plus Gold certification covers most mid-range to high-end builds. Add up your CPU and GPU TDP figures, then add 20% headroom to find your minimum wattage.
What is BIOS Flashback and why does it matter for PC builders?
BIOS Flashback lets you update your motherboard’s firmware using only a USB drive, without needing a compatible CPU installed. This removes one of the most common compatibility barriers for builders pairing new processors with existing boards.
How do I avoid bottlenecks in my custom PC build?
Match all components to each other, not just to the highest-spec part in your build. A high-end CPU paired with slow RAM or an undersized PSU will underperform regardless of its spec sheet rating.