

DIY Computer Parts: Your Complete 2026 Build Guide
TL;DR:
- Building a custom PC requires choosing compatible components based on your specific resolution and performance needs. Planning thoroughly before purchasing ensures a balanced system and prevents costly mistakes. Using used parts and verifying compatibility can help build a 4K gaming PC on a limited budget.
DIY computer parts are the individual hardware components you select and assemble yourself to build a computer tailored to your exact needs and budget. Unlike buying a prebuilt system, assembling your own PC gives you full control over performance, cost, and upgradability. The biggest mistake beginners make is skipping the planning phase and choosing parts without defining a target resolution and refresh rate first. Getting that foundation right makes every other decision easier. Simlimsquareinsider covers the full component selection process so you can build with confidence in 2026.
1. What are the essential DIY computer parts for any build?
Every functional PC requires eight core components. Miss one, and the system simply will not boot. Here is what each part does and why it matters.
- CPU (Central Processing Unit): The processor handles all calculations and instructions. It determines how fast your system responds to every task.
- Motherboard: The main circuit board connects every component. CPU socket type must match the motherboard socket exactly.
- GPU (Graphics Processing Unit): The graphics card renders images on your display. For gaming, it is the single most performance-critical part.
- RAM (Memory): RAM holds data your CPU is actively using. More RAM means smoother multitasking and faster load times.
- Storage: Your operating system, apps, and games live here. NVMe SSDs deliver far faster read and write speeds than older drive types.
- Power Supply Unit (PSU): The PSU converts wall power into usable voltage for your components. Underpowering a build causes crashes and instability.
- Case: The chassis houses and protects every component. Size determines which motherboard form factors and GPU lengths fit inside.
- Cooling: Air coolers and liquid coolers keep your CPU at safe temperatures. Thermal management directly affects long-term component lifespan.
Compatibility among these parts is non-negotiable. A CPU that does not match the motherboard socket will not physically install. Always verify socket type, form factor, and clearance before purchasing any component.
2. How to choose the right CPU and motherboard combo
The CPU and motherboard must share the same socket standard. AMD’s AM5 platform supports Ryzen 7000 and 9000 series processors. Intel’s LGA1851 platform supports Core Ultra 200 series chips. Mixing platforms is impossible since the physical pins do not align.
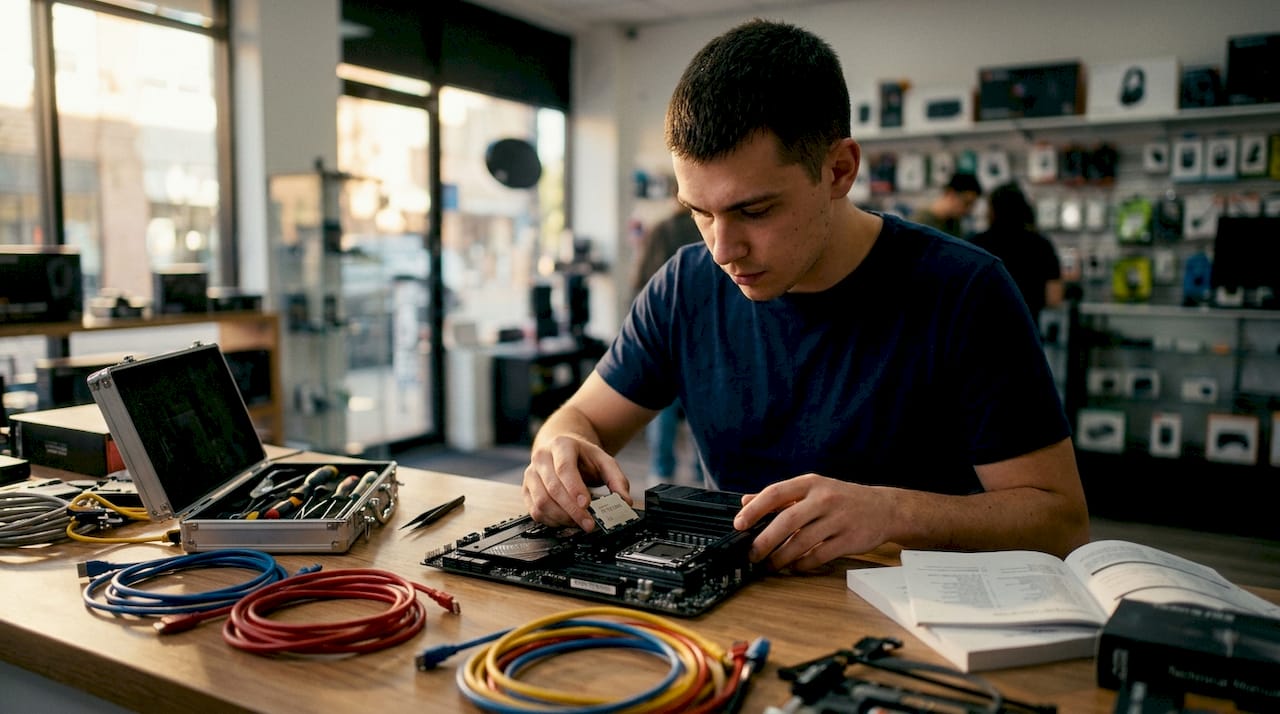
Performance tiers break down clearly. Budget builds work well with a six-core processor on a B-series motherboard. Mid-range builds benefit from an eight-core or twelve-core chip paired with a feature-rich B or mid-tier X-series board. High-end workstation builds justify flagship processors on X-series or Z-series motherboards with full overclocking support.
Pairing strategy depends on your primary use case. Gamers benefit most from high single-core clock speeds, making a fast six-core or eight-core chip a better value than a slower sixteen-core workstation processor. Content creators who render video or run virtual machines need more cores and benefit from higher-tier platforms. Always check that your chosen motherboard supports your CPU’s specific model number, not just the socket type, since BIOS compatibility varies by revision.
Pro Tip: Before buying, check the motherboard manufacturer’s CPU support list on their official website. Some older board revisions require a BIOS update before they recognize newer processors, and you may need a compatible older CPU to perform that update first.
3. Choosing the best GPU for your budget and gaming needs
The GPU is the most performance-defining component in any custom gaming PC. Allocating 30–40% of your total build budget to the graphics card is the standard recommendation for a balanced system. That ratio holds whether you are spending $600 or $2,000 total.
Target resolution drives GPU selection more than any other factor.
- 1080p gaming: Entry-level and mid-range GPUs handle 1080p at high settings with strong frame rates. This is the most budget-friendly tier.
- 1440p gaming: Mid-range to upper-mid GPUs deliver smooth 1440p performance. This resolution offers a strong balance of visual quality and hardware cost.
- 4K gaming: High-end GPUs are required for consistent 4K performance. Careful sourcing makes this tier more accessible than most builders expect.
You can source parts for a 4K-capable gaming PC for under $1,000 by combining used and new components strategically. That figure proves 4K gaming is no longer exclusive to top-tier budgets. Used GPUs from the previous generation often deliver excellent performance at a significant discount, especially when purchased from reputable sellers with return policies. Always verify GPU length against your case’s maximum clearance before buying, since high-end cards frequently exceed 330mm.
4. Selecting RAM and storage for a 2026 PC build
Modern builds require at least 16GB of DDR5 RAM to run Windows 11 and current games without bottlenecks. For multitasking, streaming, or video editing, 32GB is the practical minimum. DDR4 still works in older platform builds, but DDR5 is the standard for AM5 and LGA1851 systems.
RAM installed in matched pairs enables dual-channel mode, which measurably improves memory bandwidth. That bandwidth improvement shows up in real-world frame rates and application load times. Always buy a matched kit rather than two individual sticks from separate purchases.
For storage, the guidance is direct:
- NVMe SSD (PCIe 4.0 or 5.0): The minimum practical choice for any 2026 build. A 1TB NVMe SSD covers the operating system and several large games comfortably.
- 2TB NVMe SSD: The better starting point if you install many games or work with large media files.
- SATA SSD: Acceptable as secondary storage for archives, but noticeably slower than NVMe for active use.
- Mechanical hard drive: Suitable only for cold storage of large files. Not recommended as a primary or game drive in 2026.
Budget builders can pair a 1TB NVMe primary drive with a larger SATA SSD for secondary storage without sacrificing day-to-day performance. For sourcing cost-effective options, Simlimsquareinsider’s guide on best-price computer parts covers where to find solid deals on memory and storage in 2026.
5. Tools and tips for assembling your PC safely and efficiently
Assembly requires fewer tools than most beginners expect. A magnetic Phillips-head screwdriver handles nearly every fastener in a standard build. An anti-static wrist strap is strongly recommended to prevent electrostatic discharge from damaging sensitive components. That is the complete physical toolset for most builds.
Pro Tip: Build on a clean, hard, flat surface with good lighting. A wooden table works well. Avoid carpet, which generates static electricity. Keep component packaging nearby so you can reference manuals during assembly.
Practical assembly habits that prevent the most common errors:
- Install the CPU, RAM, and M.2 NVMe SSD on the motherboard before placing it in the case. Working outside the case gives you far better access.
- Route cables through the case’s rear panel cutouts before connecting them to the motherboard. Clean cable routing improves airflow and makes future upgrades easier.
- Do not force any connector. Every cable and component has a keyed design that fits only one way. Forcing a connection risks bending pins or damaging ports.
- Power on the system outside the case first to confirm it posts to BIOS. This step catches defective components before you complete final assembly.
First-time builds typically take 2–4 hours. Experienced builders finish in about 90 minutes. Patience during your first build is not a weakness. Rushing causes bent CPU pins and missed standoffs, which are expensive mistakes.
Compatibility tools that validate physical clearance and PSU wattage with safety margins help catch errors before you buy. Always verify GPU length, CPU cooler height, and PSU wattage with at least a 20% headroom above your system’s calculated draw. Beginners who rely on basic parts-picker tools without physical constraint checks frequently discover clearance problems only after parts arrive. For wholesale and liquidation options on electronics, bulk electronics pallets can offer cost savings for builders sourcing multiple components at once.
Key Takeaways
The most effective DIY computer build starts with a defined resolution target and budget, then works outward to compatible components that deliver the best performance per dollar.
| Point | Details |
|---|---|
| Plan before you buy | Define your target resolution and use case before selecting any component. |
| GPU budget allocation | Spend 30–40% of your total budget on the graphics card for a balanced build. |
| RAM in matched pairs | Install RAM as a matched kit to enable dual-channel mode and improve bandwidth. |
| NVMe SSD is the baseline | Use a 1TB PCIe 4.0 NVMe SSD as the minimum storage choice for any 2026 build. |
| Verify physical compatibility | Always check GPU length, cooler height, and PSU wattage with a 20% safety margin. |
What building my own PC actually taught me
After building more custom rigs than I can count, the lesson that sticks hardest is this: the planning phase is where most builds succeed or fail. Not the assembly. Not the part selection. The moment you sit down and decide what you actually need the machine to do.
I have watched builders spend $400 on a GPU for a system that will only ever run a 1080p monitor at 60Hz. That is money that could have gone toward faster storage or more RAM, components that would have made the machine feel noticeably quicker every single day. Chasing specs without a use case produces expensive, unbalanced systems.
The other thing I have learned is that used components are far less risky than most beginners believe. A previous-generation GPU from a reputable seller with a return window is often the single best value move in a budget build. The fear of used parts keeps a lot of builders from stretching their budget further than they thought possible.
My honest advice: build a parts list, then sit on it for 48 hours before buying anything. You will almost always find something you want to change. That pause has saved me from bad purchases more times than any compatibility checker ever has.
— Aloysius
Where to source your components and build guides
Simlimsquareinsider covers the full range of components and sourcing options for builders at every budget level in 2026.

Whether you are assembling your first custom gaming PC or upgrading an existing rig, Simlimsquareinsider’s complete component guide walks you through every part category with current recommendations. For builders in Singapore, the custom PC Singapore guide covers local retail options and compatible hardware available at Sim Lim Square. You can also browse trusted component sources to compare suppliers and find the best prices on the parts that matter most to your build. Visit Simlimsquareinsider to get started.
FAQ
What are the most important DIY computer parts for gaming?
The GPU and CPU are the two most performance-critical components for gaming. Allocating 30–40% of your total budget to the graphics card produces the most balanced gaming system.
How long does it take to assemble DIY PC components?
First-time builders typically take 2–4 hours to complete a full assembly. Experienced builders finish in approximately 90 minutes.
Do I need special tools to build my own computer?
A magnetic Phillips-head screwdriver handles nearly every fastener in a standard build. An anti-static wrist strap is recommended to protect components from electrostatic discharge.
What RAM configuration works best for a 2026 PC build?
Install RAM in matched pairs to enable dual-channel mode, which improves memory bandwidth and real-world performance. A minimum of 16GB DDR5 is the standard for 2026 builds.
Can I build a 4K gaming PC on a limited budget?
Combining used and new components makes it possible to build a 4K-capable gaming PC for under $1,000. Sourcing a previous-generation GPU from a reputable seller is the most effective way to reduce cost without sacrificing resolution capability.